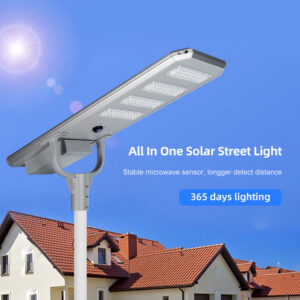
Installing a solar-powered street light is an eco-friendly way to light up the streets. In this guide, we will take you through the steps to install a solar powered street light so that you can take advantage of the numerous benefits that come with it.
First and foremost, you need to choose the location where you want to install the street light. It is important that the location receives sufficient sunlight throughout the day to ensure that the battery is charged properly. Once you have identified the location, the next step is to prepare the foundation where the street light will be installed. This involves digging a hole where the foundation will be laid and then pouring concrete into the hole. Once the concrete has set, the street light can be installed on top of the foundation.
The next step is to install the solar panel. The solar panel should be installed in a location where it receives maximum sunlight throughout the day. This will ensure that the battery is charged fully, and that the street light can operate for the required duration during the night.
The battery is an essential component of the solar powered street light. It stores the energy generated by the solar panel during the day and releases it during the night when the street light is operational. The battery should be installed in a location where it is protected from the elements and is easily accessible for maintenance purposes.
Finally, the street light itself should be installed on top of the foundation, and connected to the battery, solar panel, and controller. The controller is responsible for managing the charging and discharging of the battery, as well as turning the street light on and off.
Overall, installing a solar powered street light is a simple process that requires a bit of planning and preparation. However, the benefits that come with it, such as reduced energy costs and a lower carbon footprint, make it a worthwhile investment for any community looking to improve its street lighting infrastructure.


