Making a UFO LED sign involves several steps, including designing the sign, selecting the LED lights, and assembling the sign. Here are some general steps to follow:
- Design the Sign: Start by designing your sign. Determine the size, shape, and design of the UFO sign, and decide on the message or image that will be displayed.
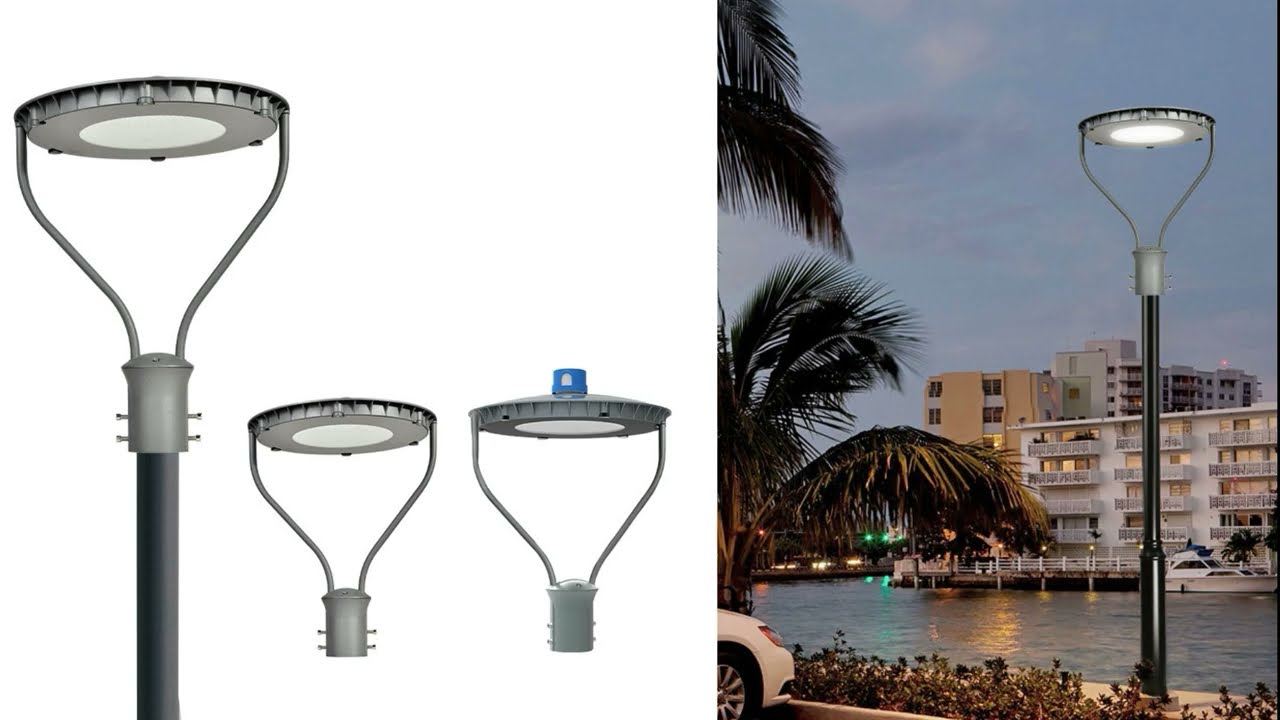
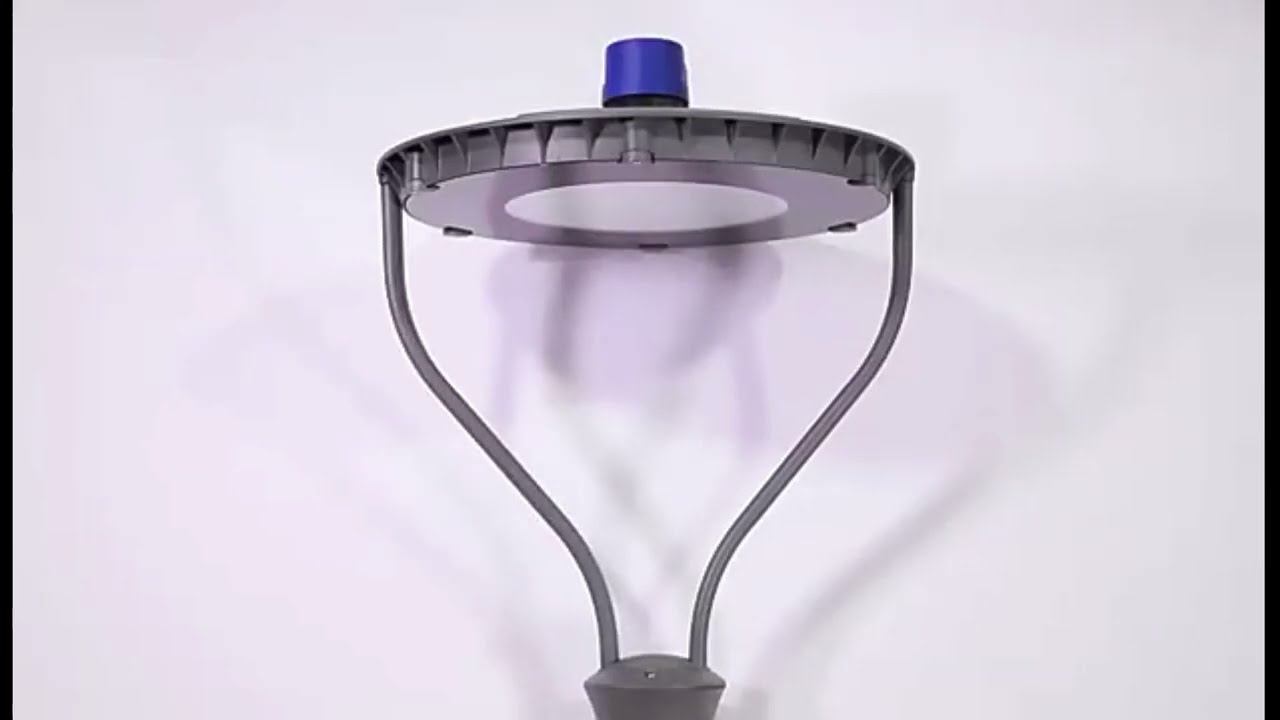
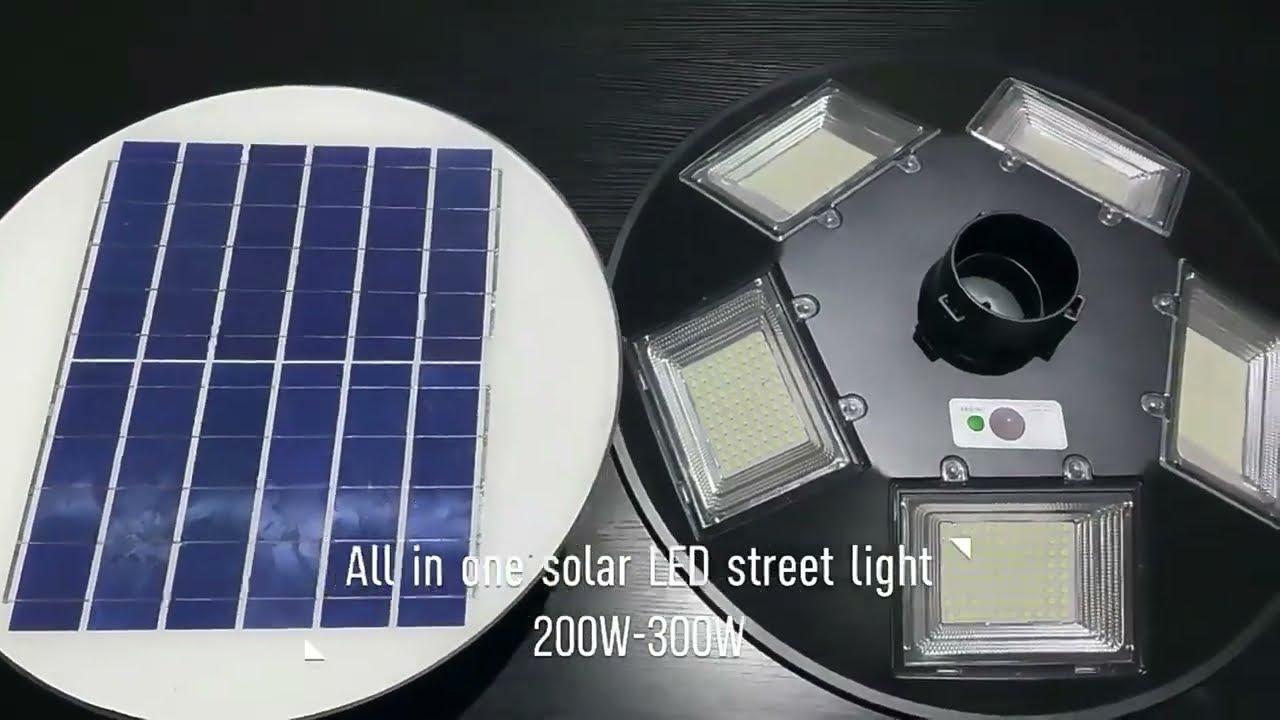
- Select the LED Lights: Choose high-quality LED lights that are bright, energy-efficient, and long-lasting. Consider the color, brightness, and number of LEDs needed to create the desired effect.
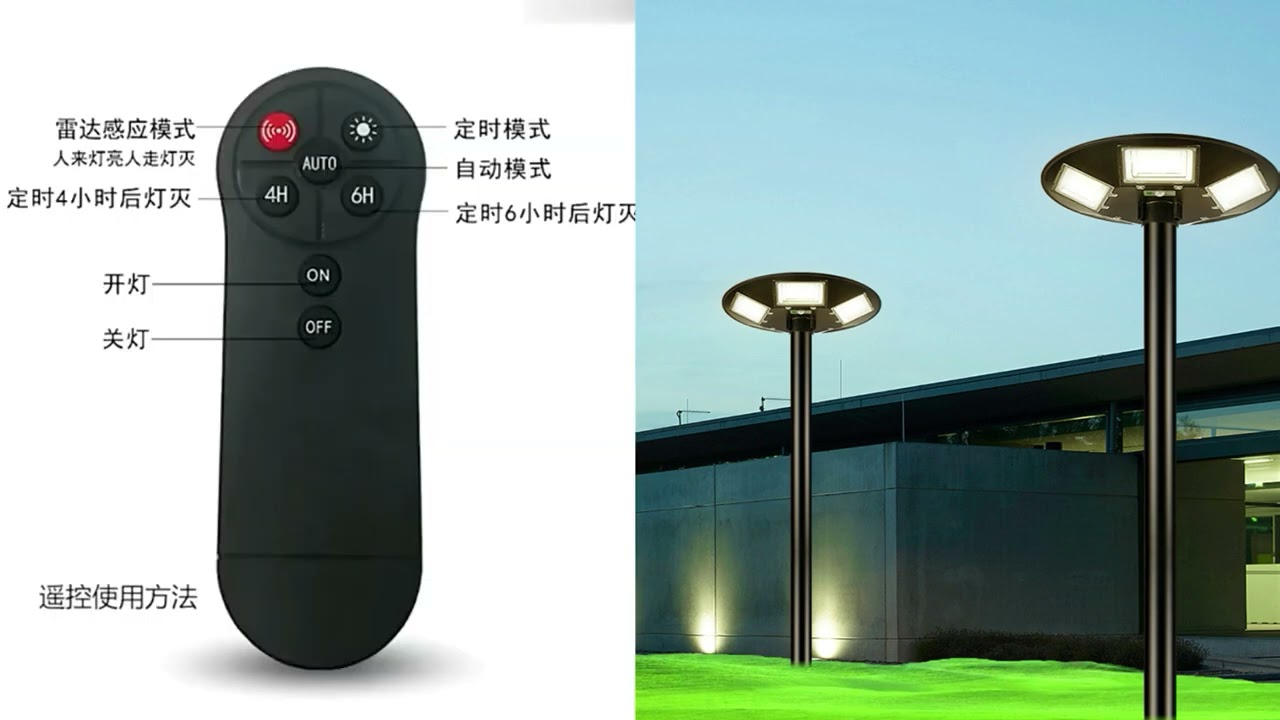
- Choose the Power Supply: Select a power supply that is suitable for the LED lights and the size of the sign.
- Construct the Frame: Create a frame for the sign using lightweight materials, such as aluminum or PVC, that can withstand outdoor conditions.
- Install the LED Lights: Attach the LED lights to the frame using a suitable adhesive, such as silicone or epoxy. Connect the LED lights to the power supply, following the manufacturer’s instructions.
- Test the Sign: Before installing the sign, test it to ensure it is functioning properly and that the message or image is displayed correctly.
- Install the Sign: Once the sign has been tested, install it in the desired location, following any relevant safety regulations or guidelines.
It is important to note that creating a UFO LED sign requires technical expertise and specialized equipment. If you lack experience in this area, it may be best to consult a professional lighting manufacturer, such as ALIHSOLAR, who can guide you through the process and ensure that the sign meets your requirements.
You may also like