Here are the steps to create your own UFO LED light show:
Materials:
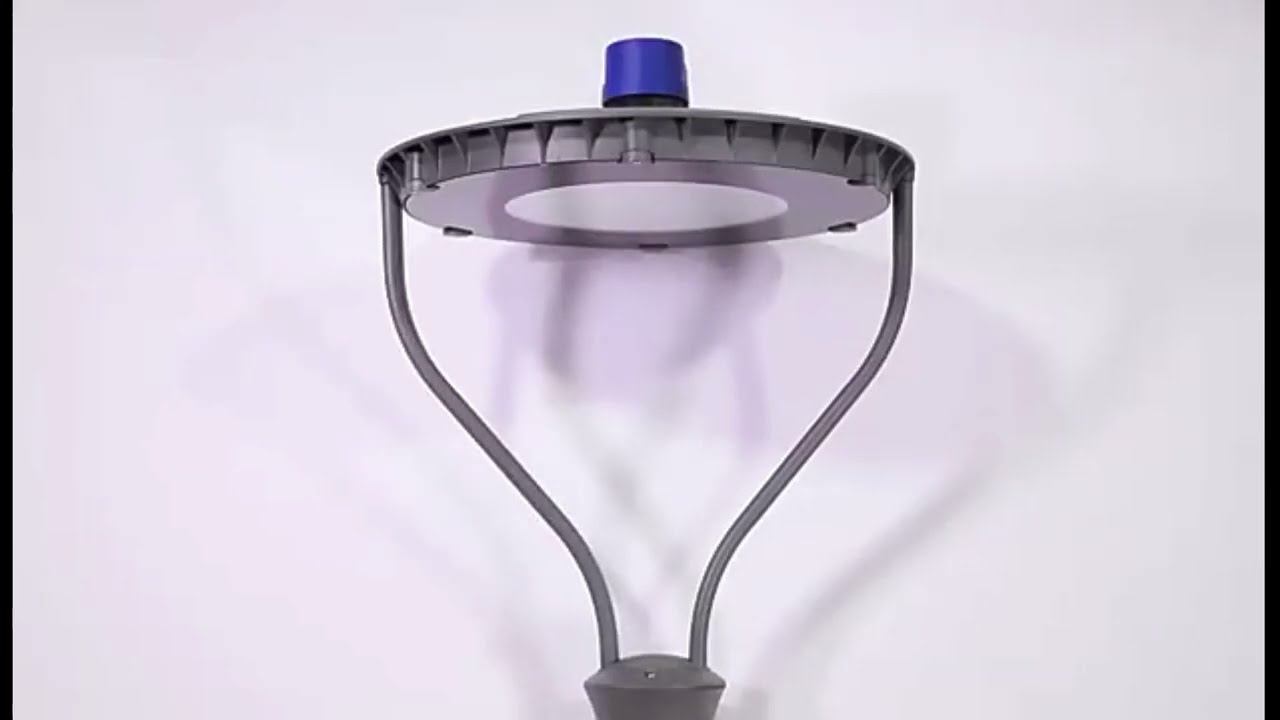
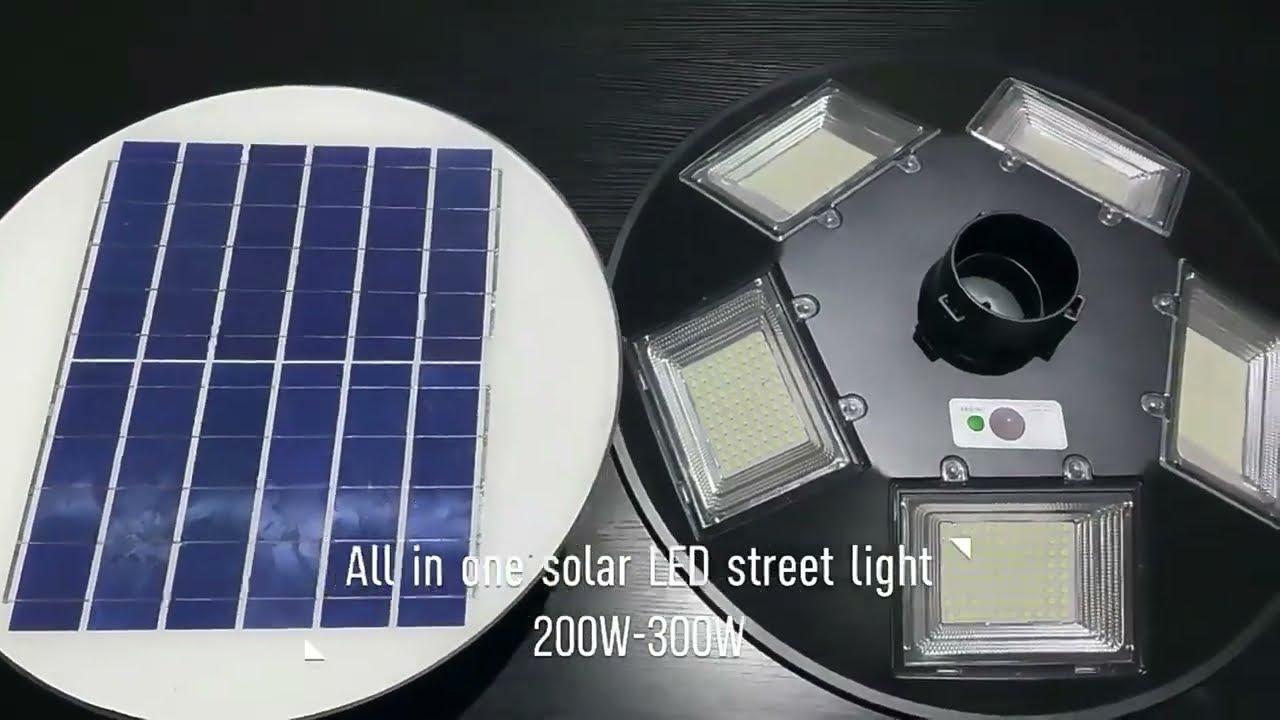
- UFO-shaped LED lights
- Arduino board
- Jumper wires
- Breadboard
- Computer with Arduino software
- Music (optional)
Steps:
- Choose the UFO-shaped LED lights that fit your desired size and color. Make sure they are compatible with an Arduino board.
- Set up the Arduino board and connect the jumper wires to the LED lights.
- Use the breadboard to connect the jumper wires to the Arduino board.
- Install the Arduino software on your computer and write the code to program the lighting effects for the LED lights. You can create patterns, colors, and movements to match the theme of your light show.
- If you want to synchronize the light show with music, use the Arduino software to link the lights to the music’s beats and rhythm.
- Test the light show and make adjustments as needed.
- During the event, activate the light show and enjoy the mesmerizing visual effects.
Don’t forget to take safety precautions when working with electricity and equipment. Practice and prepare ahead of time to ensure a smooth and successful UFO LED light show.
In conclusion, making your own UFO LED light show is an amazing way to showcase your creativity and add a unique element to your event. With the right materials and software, you can create stunning lighting effects that will leave a lasting impression on your audience.
You may also like